Ingredients
Method
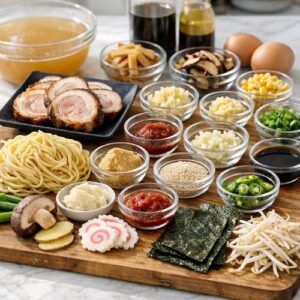
Step 1: Prepare Your Ingredients (15 minutes)
- Before you turn on any heat, gather and prep everything. This is called mise en place, and it's non-negotiable in good cooking. When everything is ready, you can focus on what matters instead of scrambling for a knife or a bowl. Bring your stock to room temperature if you've stored it cold—this helps it heat evenly. Pat the chicken thighs dry with paper towels; dry chicken browns better and gives better flavor to your broth. Smash the unpeeled garlic cloves gently with the side of your knife (this cracks the skin and releases flavor). Slice the ginger into coins about ¼-inch thick—don't peel it; the skin holds nutrients and flavor. Leave the chilies whole; if you're sensitive to heat, remove the seeds first. Cut your spring onions into those 3-inch pieces. Have a small bowl ready for skimming impurities from your broth as it cooks.
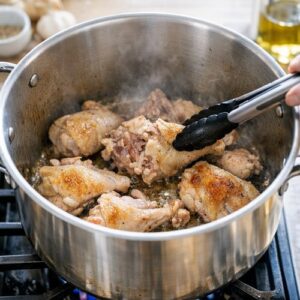
Step 2: Bloom the Chicken and Begin Your Broth (10 minutes active, 3+ hours passive)
- Heat your large pot over medium-high heat until it's hot enough that a drop of water sizzles immediately. This step might seem simple, but starting with a properly heated pot makes all the difference in building flavor. Add your chicken thighs skin-side down without moving them for about 4-5 minutes. You want them to develop a golden crust. Flip them and cook the other side for 3-4 minutes. This browning adds flavor through something called the Maillard reaction—it's the same magic that makes toasted bread taste better than plain bread. Pour in your room-temperature stock slowly. Add it slowly so it doesn't shock the pot and splatter everywhere. The stock should cover the chicken completely. Add your smashed garlic cloves, ginger slices, whole chilies, and spring onion pieces. Bring everything to a boil, then immediately reduce the heat to maintain a gentle simmer. Within the first 10-15 minutes of simmering, impurities will rise to the surface as gray or white foam. Using your skimmer or a spoon, skim this off gently. This step isn't absolutely necessary, but it produces a clearer, more refined broth—the kind that looks professional and tastes pure. Keep skimming until foam stops rising, usually after 5-10 minutes of simmering. Now let it simmer gently for at least 3 hours. The longer it simmers, the more flavor develops, but the chicken will be fully cooked and tender within 90 minutes. I usually go three hours because I love deeply developed flavor. Your kitchen will smell incredible—this is what you're working toward.
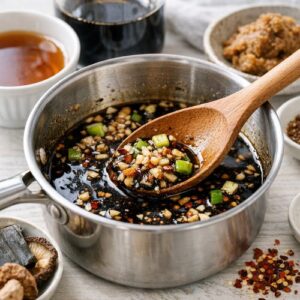
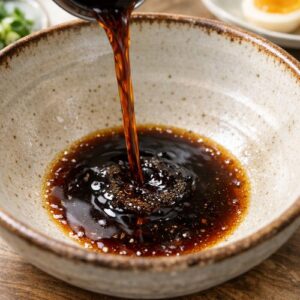
Step 3: Prepare Your Flavor Base (Tare) While the Broth Simmers (10 minutes)
- While your broth is doing its long, slow dance, make your tare—the concentrated seasoning base that flavors your final bowl. This is where the real seasoning happens. Heat a small saucepan over medium heat. Add your mirin, dark soy sauce, light soy sauce, and brown sugar. Stir gently until the sugar dissolves completely and the mixture is warm (about 2-3 minutes). You're not boiling it; you're just warming it to combine the flavors. Remove from heat and let it cool slightly. Stir in your finely minced fresh garlic and cayenne pepper. The fresh garlic stays raw, which preserves its sharp, bright flavor. This tare can be made hours ahead and stored in the refrigerator.
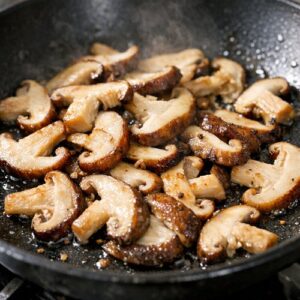
Step 4: Cook Your Mushrooms (15 minutes)
- About an hour before your broth finishes, prepare the mushrooms. Heat a small skillet over medium-high heat. When it's hot, add your sliced fresh shiitake mushrooms (no oil needed for the first minute—they'll release their own moisture). Let them sit for a minute without stirring; this helps them brown slightly. Once they start releasing liquid, stir occasionally for about 8-10 minutes until they're tender and lightly golden. If you're using dried shiitake mushrooms, rehydrate them in warm water for 20 minutes first, then slice them. They'll add serious umami depth. Don't discard the soaking water—strain it and add it to your broth for extra flavor. The cooked mushrooms can sit at room temperature until you're ready to serve, then reheat them gently in a bit of their liquid.
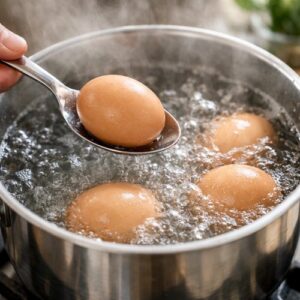
Step 5: Prepare Your Eggs (30 minutes ahead, or make them earlier)
- Bring a pot of water to a boil. Carefully lower your 4 large eggs into the boiling water using a spoon. Set a timer for exactly 6 minutes. This gives you a jammy, barely set yolk—the gold standard for ramen eggs. When the timer goes off, transfer the eggs immediately to an ice bath (a bowl with ice and cold water) to stop them from cooking further. Let them sit for at least 5 minutes, then gently peel them under cool running water, starting from the wider end where the air pocket makes peeling easier. Once peeled, you can eat them immediately or marinate them in a mixture of 3 tablespoons soy sauce, 1 tablespoon mirin, and ¼ cup water for 2-8 hours for deeper flavor. Marinated eggs are restaurant-style, but fresh eggs are wonderful too.
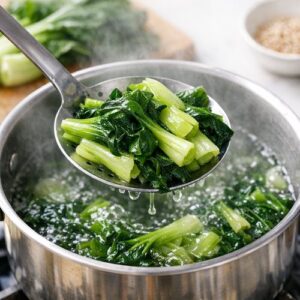
Step 6: Prepare Your Greens (5 minutes)
- About 20 minutes before serving, bring a small pot of lightly salted water to a boil. Fresh greens cook down dramatically—what looks like a large bunch shrinks to just a bite or two. Add your yu choy, spinach, or Asian greens and cook for 2-3 minutes until tender and bright. The water should turn vibrant green. Drain well and set aside.
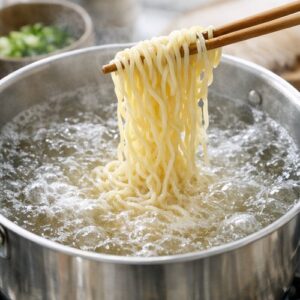
Step 7: Cook Your Noodles (10 minutes)
- This is one of the most important steps, so pay attention. Bring a large pot of water to a rolling boil—this water should be salted like seawater, which seasons the noodles as they cook. Never add oil to pasta or ramen water; oil prevents the noodles from absorbing sauce properly. Add your dried ramen noodles and stir immediately to separate them. Follow the package timing, but start tasting at the low end. Ramen noodles cook quickly (usually 3-4 minutes), and the difference between perfectly cooked and overcooked is maybe 30 seconds. You want them tender but with a slight resistance when you bite—this is called "al dente," and it's the difference between good ramen and great ramen. Drain the noodles in your colander, shaking off excess water. Don't rinse them; that starch helps them carry the broth's flavor.
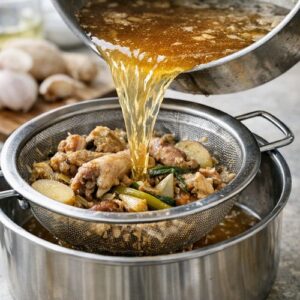
Step 8: Finish Your Broth (5 minutes)
- When your broth has simmered for at least 3 hours, strain it through your fine-mesh strainer into a clean pot, discarding the solids (the spent chicken, vegetables, and aromatics have given everything they have). This clear, golden broth is the foundation of everything that comes next. Gently reheat it over medium heat. Taste it now—what you're looking for is rich, savory, with subtle sweetness and the warmth of ginger and garlic. If it tastes thin, let it simmer for another 30 minutes to concentrate. If it's perfect, move forward.
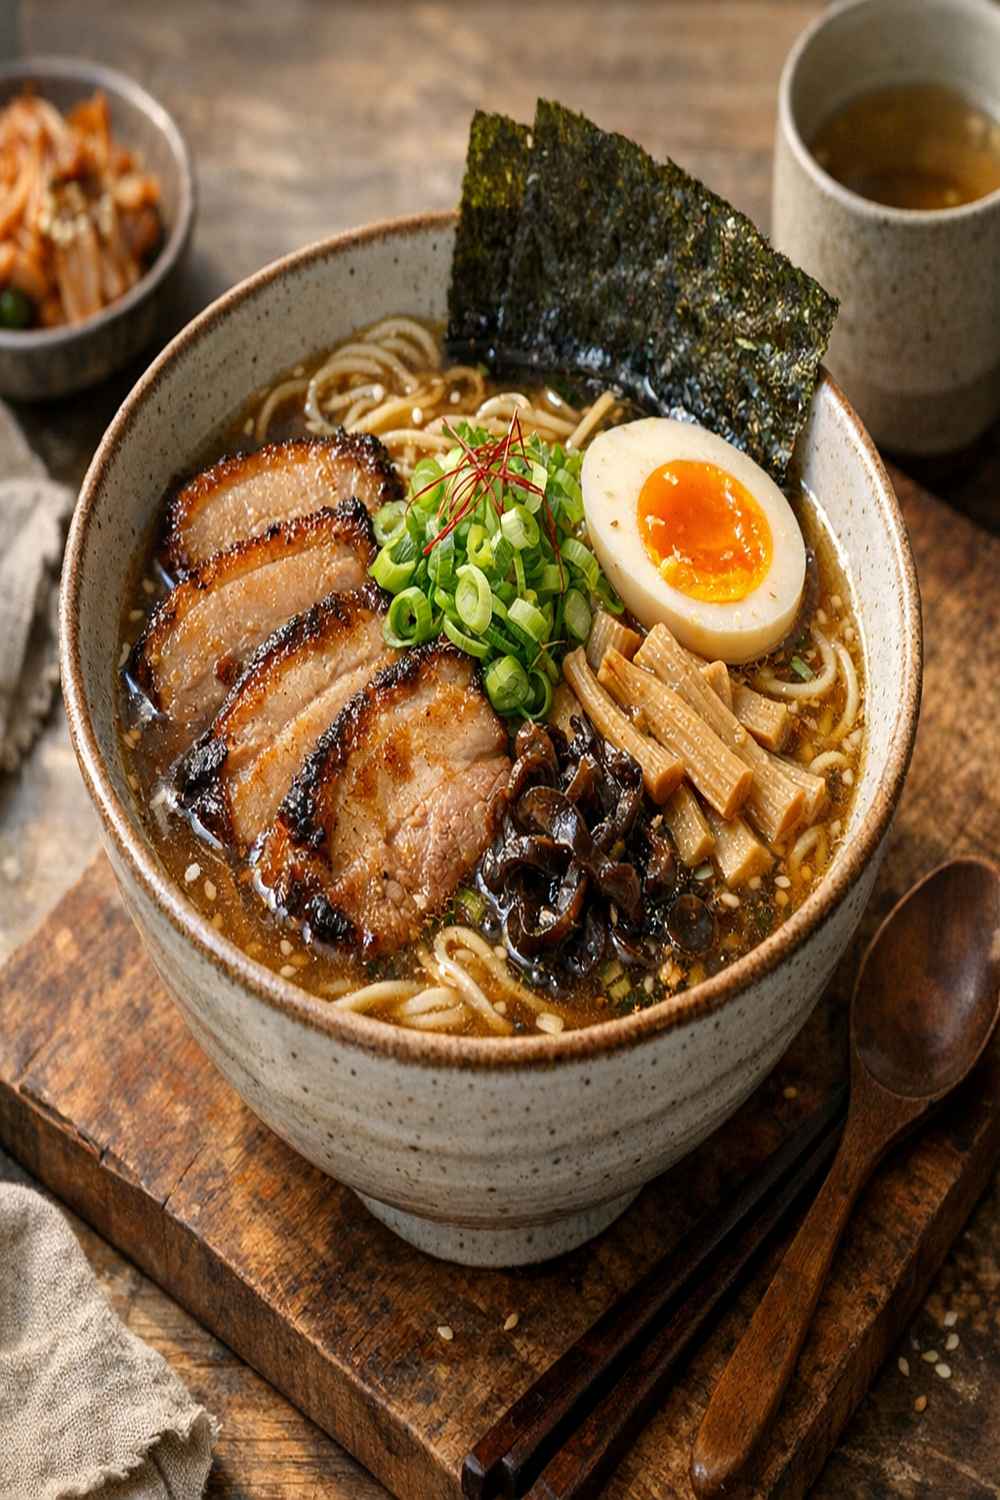
Step 9: Assemble Your Bowl (5 minutes)
- This is where magic happens. Pour about ¼ cup of your tare (seasoning base) into the bottom of a warm ramen bowl. This seems like a lot, but trust it—this is your seasoning. Add your drained noodles directly to the bowl, letting them sit on top of the tare for a moment. Pour about 2 cups of your hot broth slowly over the noodles and tare. The hot liquid will activate the tare and carry it throughout the bowl. Stir gently to combine. Now add your toppings artfully: one halved egg standing upright (the creamy yolk is what everyone eats first), a small handful of cooked greens, a generous portion of cooked mushrooms, some sliced radishes or bean sprouts for crunch, and your sliced scallions. Drizzle with a small amount of sesame oil and a touch of chili garlic oil. Finish with a few paper-thin slices of fresh garlic for pop. Serve immediately while everything is hot. The beauty of ramen is that hot broth, tender noodles, and cool toppings all hitting your palate at once—temperature contrast is part of the experience.
Notes
- 4 fresh red chili peppers (look for ones that are firm and glossy; Thai bird's eye chilies work beautifully)
- 2-inch piece of fresh ginger, sliced (look for firm ginger with thin, papery skin—this indicates freshness)
- 4 to 5 spring onions or scallions, cut into 3-inch pieces (the white and light green parts add more flavor than the darker tops)
- 4 to 5 cups good-quality chicken stock (preferably low-sodium or no-sodium varieties allow you to control seasoning)
- 4 boneless chicken thighs, skin on or off (chicken thighs give the broth more body and richness than breast meat; look for pieces about 3-4 ounces each)
- 5 whole garlic cloves, unpeeled (the skin protects the garlic from burning and adds subtle flavor)