Ingredients
Method
Step 1: Prepare the Dough
- In a stand mixer fitted with the dough hook, add the wet ingredients first. Pour in the room temperature heavy cream and milk, then crack in the egg. Afterward, add the sugar, cake flour, bread flour, yeast, salt, and baking powder.
- Start the mixer at the lowest speed. As the ingredients combine, you'll see the dough starting to come together. Once it forms a slightly scraggly mass, increase the speed to low and knead the dough for about 15 minutes. If you notice it’s too sticky, take a moment to scrape the sides of the bowl with a rubber spatula.
- Alternatively, if you don’t have a mixer, you can use a wooden spoon in a large mixing bowl and then knead by hand for about 20 minutes. Aim for a dough that sticks to the bowl’s bottom but not to the sides. If you live in a humid climate, and the dough appears too sticky, add more flour, one tablespoon at a time until it smooths out.
Step 2: First Proofing
- Once you have your dough ready, form it into a ball and cover it with an overturned plate or a damp towel. Place it in a warm spot to proof for 75-90 minutes or until it doubles in size. A great place to proof the dough is a closed microwave with a mug of boiled water next to it for that warm environment.
Step 3: Make the Filling
- When the dough is proofing, it’s time to work on the filling. It’s crucial to finely dice the char siu to make filling the buns easier. Heat the vegetable oil in a wok over medium heat. Add the finely chopped shallots (or onions) and stir-fry for 2 minutes until they start to soften.
- Next, add the sugar, light soy sauce, oyster sauce, sesame oil, and dark soy sauce. Watch as it bubbles lightly, creating a fragrant base. Pour in the chicken stock and sprinkle in the flour while stirring to combine. Allow the mixture to thicken, cooking for another 2-3 minutes.
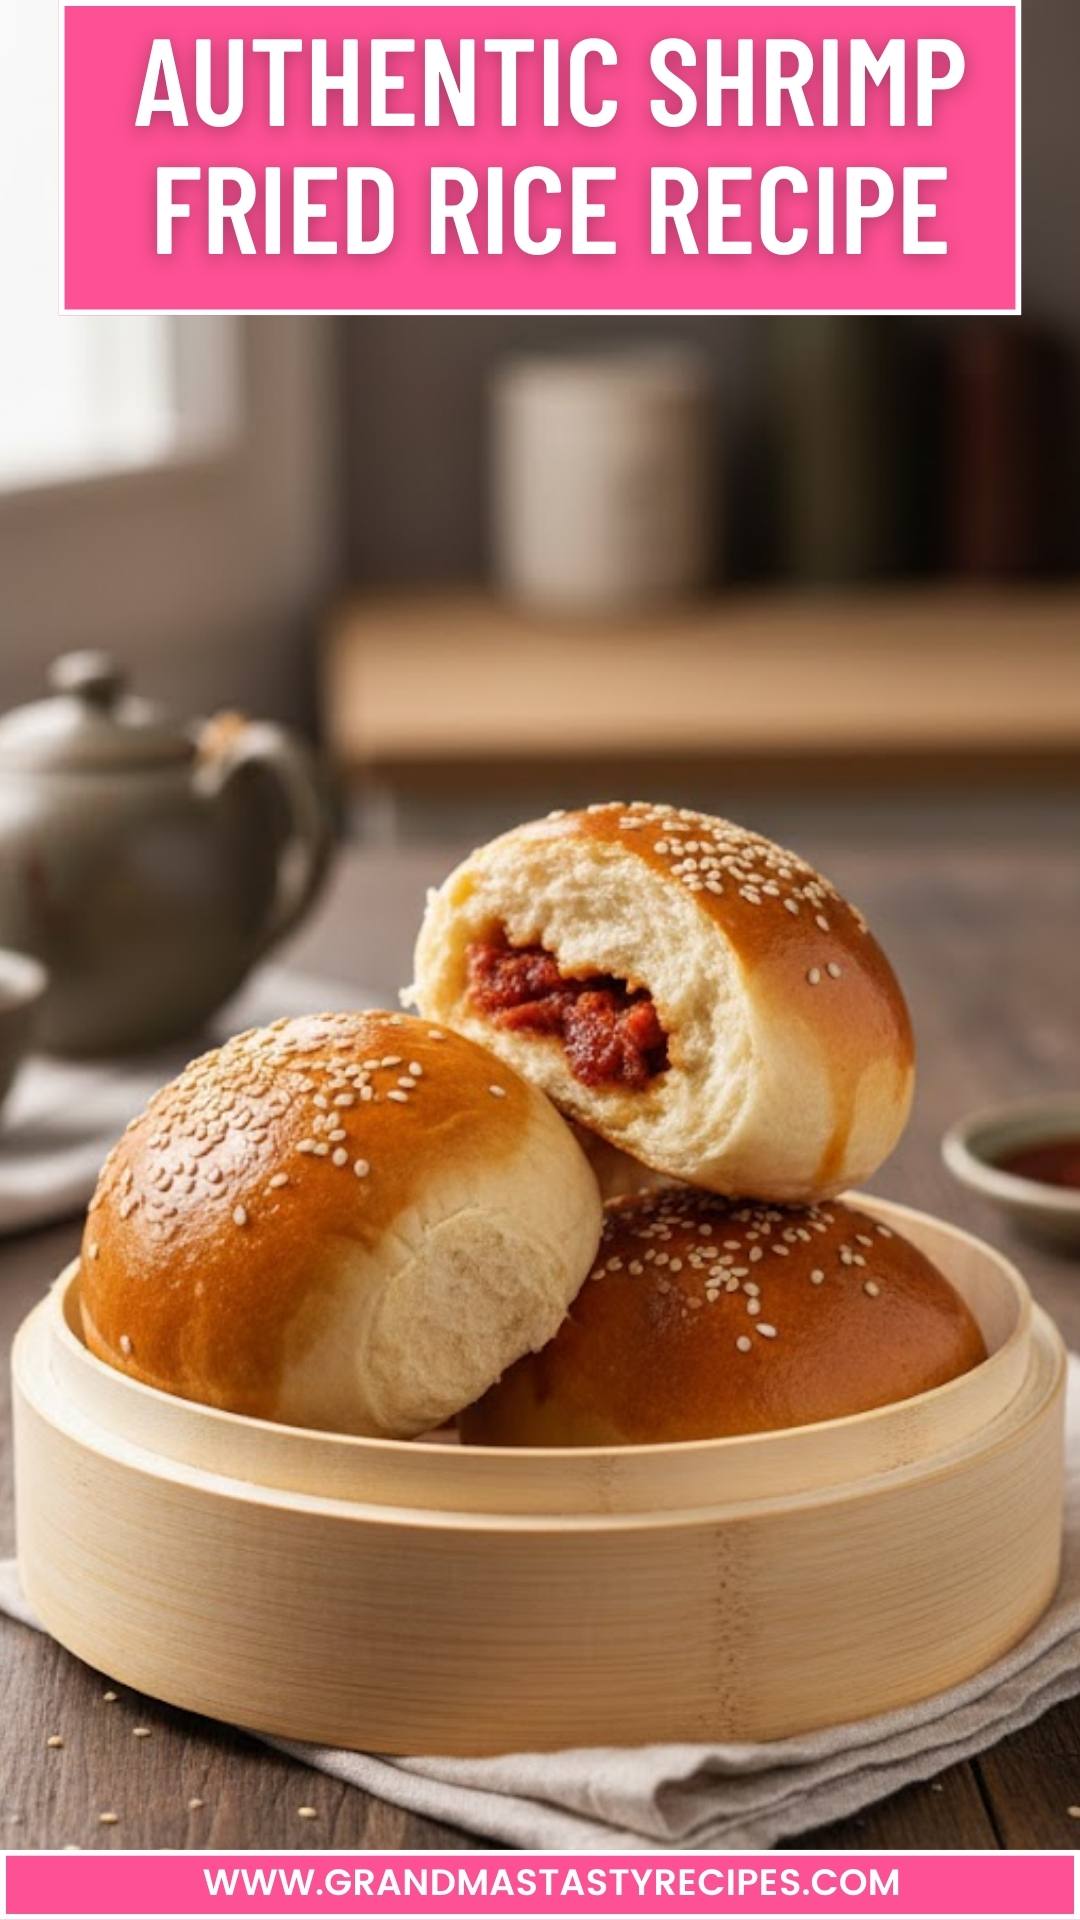
- Finally, stir in the shredded char siu. Turn off the heat and transfer the filling onto a large plate to cool. Divide it into 16 equal portions so that every bun gets the same amount of filling.
Step 4: Second Kneading
- After your dough has finished proofing, punch it down to deflate it slightly and knead it for an additional 5 minutes on a lightly floured surface. Then, shape it back into a ball. Cut it into 16 equal pieces, which you can do by halving the ball, then quarters, and finally eighths. For precision, weigh the entire dough ball and divide that weight to ensure all pieces are uniform.
Step 5: Shape the Buns
- Take each piece and knead it briefly to expel any air bubbles. Roll out each piece into a 4-inch circle, ensuring the center is slightly thicker than the edges. It’s important to keep your hands clean during this process to ensure a good seal when crimping the buns.
- Spoon one portion of the filling in the center of each round and pinch the edges together, sealing them tightly. Place the seam side down on baking sheets lined with parchment paper, spacing them about 3 inches apart. Cover them with a clean towel and let them rise at room temperature for another hour.
Step 6: Baking the Buns
- Position two racks in the top and bottom thirds of your oven and preheat to 400°F (200°C). Once preheated, brush the buns with the egg wash and sprinkle sesame seeds on top, if using. Carefully transfer the buns into the oven and immediately lower the temperature to 350°F (175°C). Bake for 22-25 minutes or until they turn a lovely golden brown.
- As soon as they are out of the oven, brush them with the sugar syrup while they are still warm. Allow them to cool before serving—if you can resist that is!
Notes
- Ensure all your ingredients are at room temperature for best results.
- If you prefer a differently flavored filling, consider adding diced mushrooms or vegetables to the pork mixture.
- Use a kitchen scale for more precise dough portions—baking is often about precision!
- If the dough seems too dry, a splash of water should help bring it together.
- Don’t rush the proofing! This step is crucial for the texture of the buns.