Ingredients
Method
- Now, let’s get to the heart of the matter – cooking this white bean chili. Follow along as I guide you through the steps.
Step 1: Sauté the Aromatics
- Start by heating the olive oil in a large pot over medium heat. Toss in the chopped onion, celery, and green bell pepper. Sauté these veggies until they are tender, about five to seven minutes.
- Add the minced garlic towards the end of this step to avoid burning it. The aroma will fill your kitchen and set the stage for the deliciousness to come!
Step 2: Flavor It Up
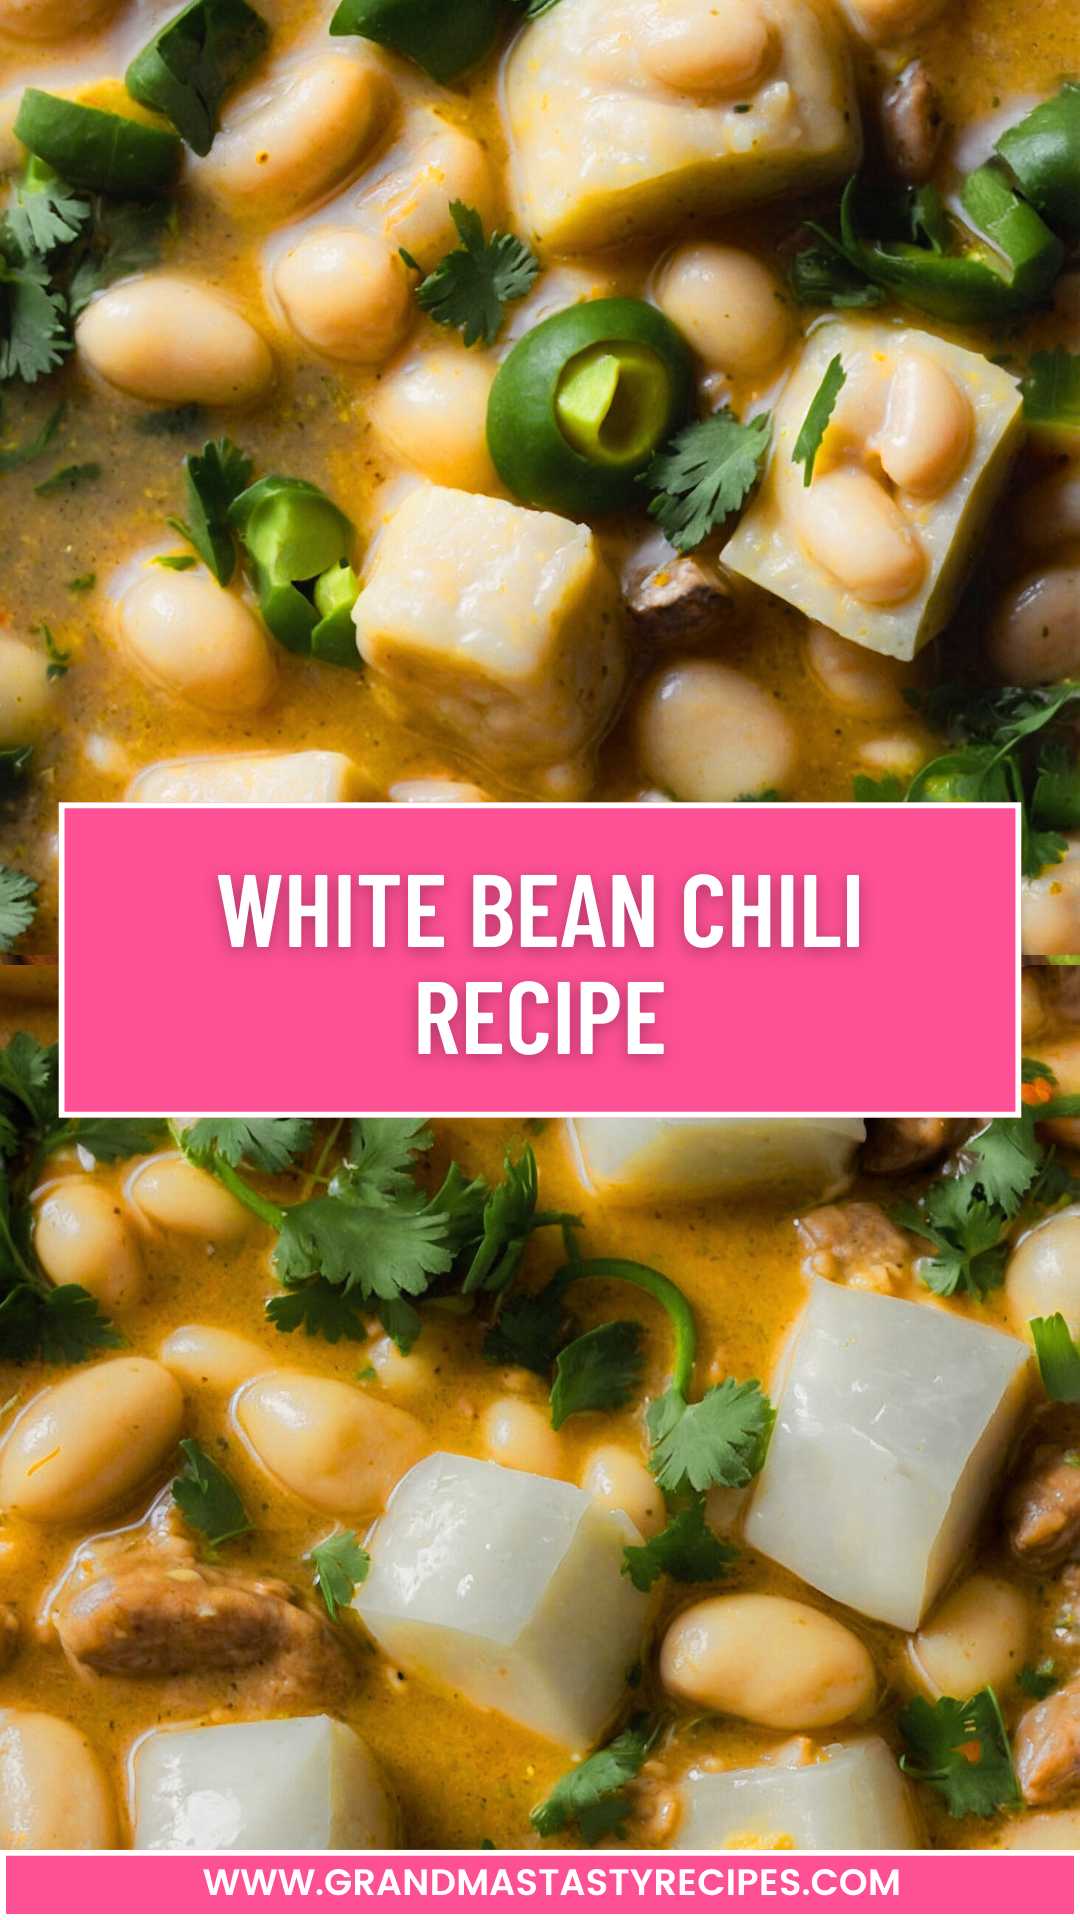
- Once your aromatics are tender, sprinkle in the ground cumin, dried oregano, kosher salt, black pepper, chili powder, and smoked paprika.
- Stir to coat the vegetables with the spices, allowing them to toast for another couple of minutes. This step is crucial; it helps to deepen the flavors.
Step 3: Add the Beans and Broth
- Now, it’s time to bring the chili together. Pour in your drained and rinsed white beans along with the carton of broth. If you’re using vegetable broth, it will lend a nice, rich flavor, but chicken broth works wonders too. Stir the mixture well to combine everything.
Step 4: Add Kick with Chiles and Corn
- Next, throw in the undrained diced green chiles and the corn. Their sweetness adds a delightful contrast to the spices. Give it another stir, and bring the mixture to a gentle simmer.
Step 5: Simmer and Stir
- Reduce the heat to low and let the chili simmer for about 20-25 minutes. Stir occasionally to prevent anything from sticking to the bottom. This is the time when all the flavors will meld together beautifully.
Step 6: Finish with Freshness
- Finally, remove the pot from heat. Squeeze the fresh lime juice over the chili and stir in the chopped cilantro. This adds a refreshing brightness that balances the deeper flavors beautifully.
Notes
Here are some tips I’ve learned along the way to enhance your chili-making experience:
- Use Quality Beans: Canned beans can be hit or miss. Go for brands that are known for quality and flavor.
- Adjust to Taste: Everyone has different heat tolerances. Tweak the chili powder or add fresh jalapeños if you like it spicy!
- Don’t Rush the Simmering: This is key for flavor development. Letting it simmer allows all the ingredients to get to know each other.
- Make It Ahead: Chili often tastes better the next day. Make it in advance and let the flavors develop.
- Experiment with Toppings: Don’t just stick to the usual. Try crunchy tortilla chips, shredded cheese, or a dollop of guacamole for a twist.