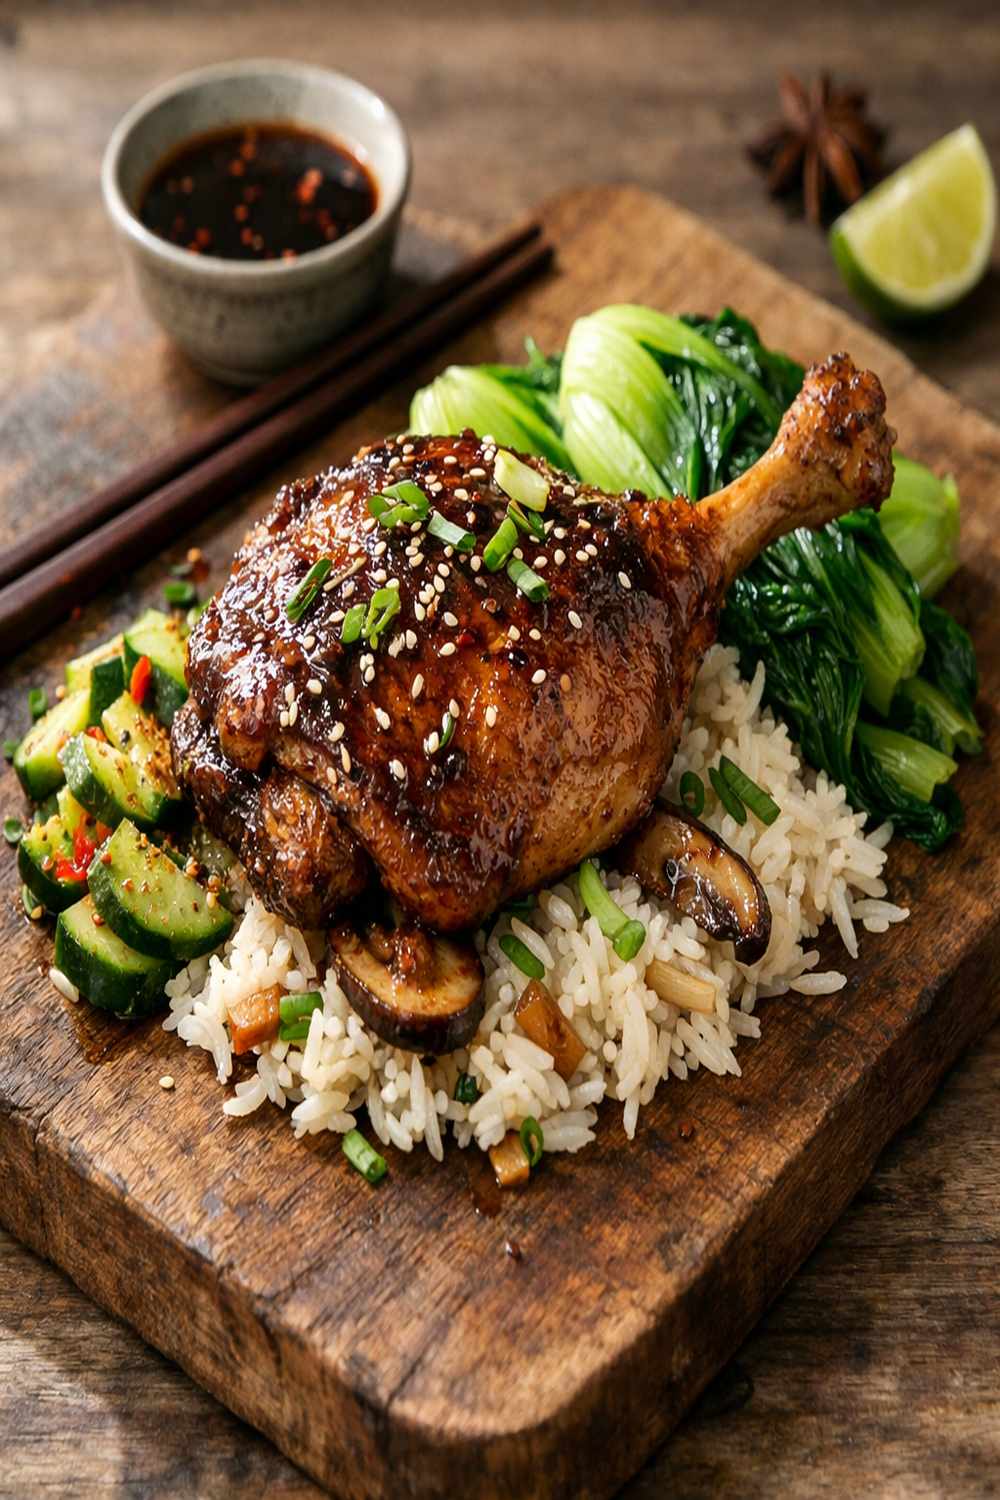

Ingredients
Method
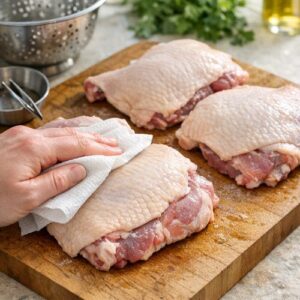
Step 1: Prepare and Dry the Duck Thighs
- Start by rinsing your duck thighs under cool water, inspecting the skin for any remaining feathers or hair (remove with tweezers if needed). Pat them completely dry with paper towels—this is critical. Moisture creates steam, steam prevents browning. You want the skin dry enough that it might almost squeak against the paper towel. This dryness ensures the skin will render properly and achieve that golden crust. I always reserve the excess fat I trim away; rendered duck fat is liquid gold in the kitchen, perfect for roasting vegetables or making pastry crust.
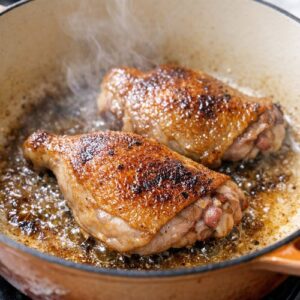
Step 2: Sear the Duck Thighs at High Temperature
- Heat your Dutch oven or deep skillet over medium-high heat for 2-3 minutes. You want it hot enough that a drop of water sizzles immediately. Place the duck thighs skin-side down in the dry pan—don't move them. Resist the urge. Let them sear undisturbed for 6-8 minutes until the skin turns deep golden brown. What's happening: the skin is rendering (fat releasing) and the Maillard reaction is creating flavor compounds. You'll see clear fat accumulating around the edges. This is perfect.
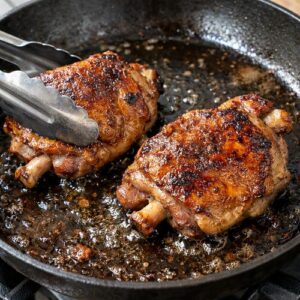
Step 3: Flip and Brown the Second Side
- Once the skin is properly browned, flip the thighs carefully and sear the meat side for just 1 minute over medium heat. You're not trying to cook the meat through—just add color. The meat side won't brown as dramatically, and that's fine. You're building flavor foundation, not finishing the dish.
Step 4: Remove Duck and Manage Fat
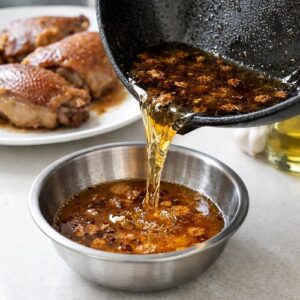
- Transfer the duck thighs to a clean plate. Now, here's where many home cooks waste an opportunity: that rendered fat in the pot is treasure. Pour it through a fine-mesh strainer into a glass container, leaving about 1 tablespoon in the pot. Refrigerate that strained fat—it'll solidify and keep for 3-4 months, perfect for cooking vegetables or making pastry. You've just created your own rendered poultry fat instead of buying it.
Step 5: Build the Braising Liquid
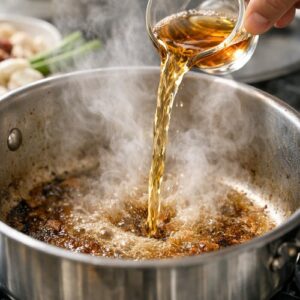
- With that tablespoon of fat remaining in the pot, add your rice wine or cooking sherry. The heat will immediately create steam and aroma—this is deglazing, lifting all those flavorful fond bits from the bottom. Let it bubble for 30 seconds, then add your stock, soy sauce, oyster sauce, sesame oil, white pepper, ginger slices, sliced garlic, crushed Sichuan peppercorns, star anise, and bay leaf. Stir gently. The liquid will be aromatic and complex already.
Step 6: Return Duck and Prepare for Oven
- Nestle the duck thighs back into the pot, skin-side up. The braising liquid should reach halfway up the thighs—not covering them. The exposed skin will stay slightly crispy while the submerged portion tenderizes. Bring the liquid to a gentle simmer on the stovetop (you should see small bubbles breaking the surface), then transfer to a 400°F oven, uncovered.
Step 7: Initial High-Heat Braise (30 Minutes)
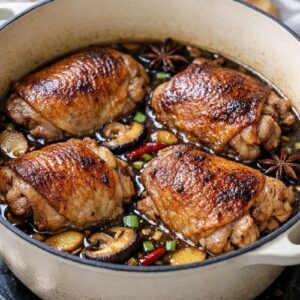
- At 400°F, the liquid reduces and concentrates slightly. The higher initial temperature helps break down collagen faster. After exactly 30 minutes, check that the liquid is gently simmering (not violently boiling, which would toughen the meat). The meat should not yet be falling off the bone—it should still require some gentle pressure to shred.
Step 8: Lower Heat and Continue Braising (30 More Minutes)
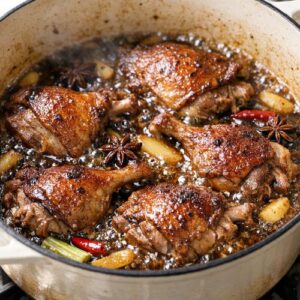
- Reduce the oven to 350°F and continue cooking, uncovered, for another 30 minutes. Now the lower temperature becomes crucial—this is where collagen fully transforms into gelatin, and the meat becomes truly tender. You're aiming for meat that shreds easily when pressed with the back of a spoon, not meat that's falling apart into stringiness. At the 55-minute mark, test the thickest part of the thigh with a fork. It should meet minimal resistance.
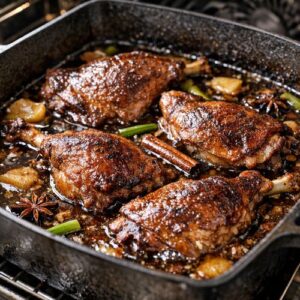
Step 9: Finish with Fresh Scallions and Strain Fat
- Remove the pot from the oven and scatter the scallion pieces across the top of the duck. Their fresh, mild allium flavor and slight astringency balance the rich braising liquid. If there's excess fat on the surface (it'll pool visibly), use a fat separator or careful pouring to remove it. Traditional wisdom says to let the braising liquid rest 5 minutes before serving—this allows flavors to settle and the texture to become silky.
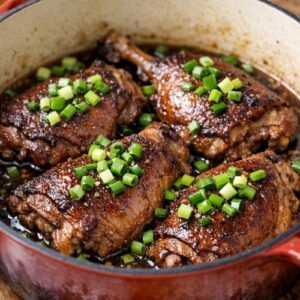
Notes
- Use a fat separator pitcher - After cooking, pour the braising liquid into a fat separator (the spout draws from the bottom, below the fat layer). This removes excess fat while preserving all those gelatin-rich, flavorful juices. It's a professional technique that takes your dish from good to elegant.
- Don't skip the initial high-heat sear - Many home cooks try to braise from raw. That golden crust creates literally hundreds of flavor compounds that slow-cooking alone cannot develop. Those Maillard reactions are non-negotiable for depth.
- Leave the skin on for braising - The skin renders fat that bastes the meat from above while it braises, keeping the meat moist. Remove it only if you're deeply opposed to poultry skin, but you'll lose both nutrition and flavor.
- Taste and adjust salt gradually - Soy sauce and oyster sauce are salty. Start with the recommended amounts; you can always add more. Over-salting concentrated braising liquid is almost impossible to fix.
- Ginger and garlic should not brown - Add them to simmering liquid, not to hot fat. Burnt aromatics become bitter and harsh. They should poach gently, infusing their compounds without burning.