
Ingredients
Method
Step 1: Prepare Your Bones and Meat for Maximum Clarity
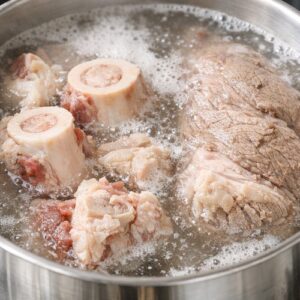
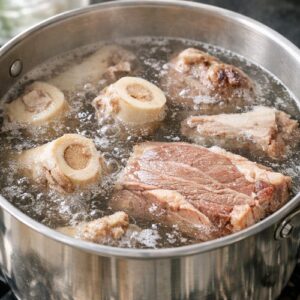
- This is where many home cooks stumble, and why their broth comes out cloudy and muddy instead of clear and luminous. Blanch all your bones and brisket in boiling water for 3-4 minutes. This isn't just tradition—it's chemistry. When bones first hit boiling water, their proteins coagulate and rise to the surface as gray scum. If you don't remove this, it stays suspended throughout your broth, making it opaque and slightly unpleasant. Remove everything from the blanching water, rinse the bones under cold running water, and scrub away any remaining gray residue with your fingers. This single step is what separates professional-looking pho from cloudy home versions.
Step 2: Char Your Aromatics to Build Depth
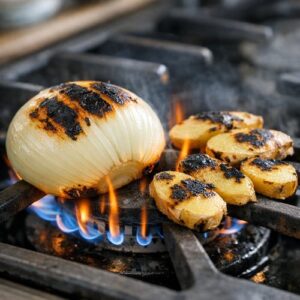
- This is the technique my grandmother taught me, and I've never found a better one. Place your halved onions and ginger slices directly on a gas burner flame or under a hot broiler until the cut sides are blackened. Don't be timid—you want real char, dark brown to almost black. This takes 2-3 minutes per side over an open flame. What's happening here is the Maillard reaction, which creates hundreds of new flavor compounds that don't exist in raw aromatics. The sweetness of the onion caramelizes, the ginger becomes more complex and less sharp. The char flavor integrates beautifully into the broth, adding depth without tasting burned.
Step 3: Toast Your Spices Dry to Awaken Their Oils
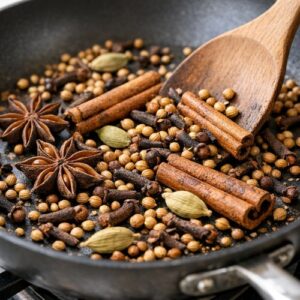
- Place your star anise, cinnamon, cardamom, cloves, and coriander seeds in a dry skillet over medium heat. Toast for 2-3 minutes, stirring constantly, until fragrant. You're not trying to cook them thoroughly—you're waking up their essential oils. Your kitchen should smell incredible at this point. This is the moment when I always remember my grandmother's kitchen, when the smell of warming spices would fill the whole house and make everything feel like celebration.
Step 4: Build Your Broth Foundation
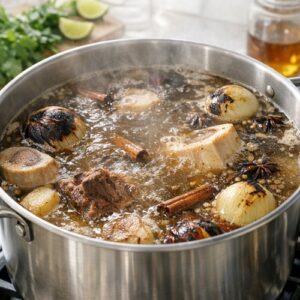
- In a large pot, combine your cleaned bones and brisket with 3.5 litres of fresh, cold water. Bring to a boil, then immediately reduce heat to the lowest setting where you see just occasional bubbles breaking the surface. This is crucial—the broth should barely tremble. Add your charred onions and ginger, your toasted spices, and 1 tablespoon of salt. The low temperature is what allows you to achieve that clear, silky broth that tastes like it's been simmering for hours. This is the opposite of aggressive boiling.
Step 5: Let Time Work Its Magic
- Now comes the part that separates this method from everything else: let this simmer gently for 4-6 hours. Yes, I said hours. Don't rush. Set a timer, check occasionally to ensure it's still barely simmering, and trust the process. Around hour 2, you might see some foam on the surface—gently skim this off. Around hour 3, the broth will start smelling like pho. Around hour 4, it will smell like the best pho you've ever tasted. By hour 5-6, the bones will have given everything they have.
Step 6: Season and Strain Your Liquid Gold
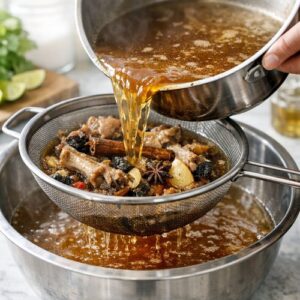
- After 5-6 hours, your broth should be rich, amber-colored, and smelling absolutely incredible. Carefully strain the broth through a fine-mesh sieve, discarding the solids. Taste it. Now adjust your seasoning: add additional salt to taste (you're looking for savory, not salty), then add your fish sauce. This is the moment pho becomes pho—that umami depth from the fish sauce ties everything together. Start with 40 ml and adjust upward if needed. Don't skip the fish sauce thinking it will make the broth smell "fishy"—it won't. It will make the broth taste complete.
Step 7: Cook Your Noodles and Prepare Your Brisket
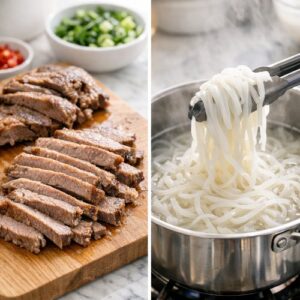
- Separate and reserve the cooked brisket from your straining process, slicing it into ¼-inch pieces. If using dried rice noodles, cook them in boiling water for 4-5 minutes until tender but still with slight resistance, then drain. If using fresh rice noodles, simply separate them gently in a bowl. Have your raw beef tenderloin thinly sliced and ready—the hot broth will cook it gently.
Step 8: Bring It All Together
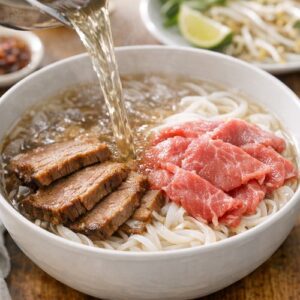
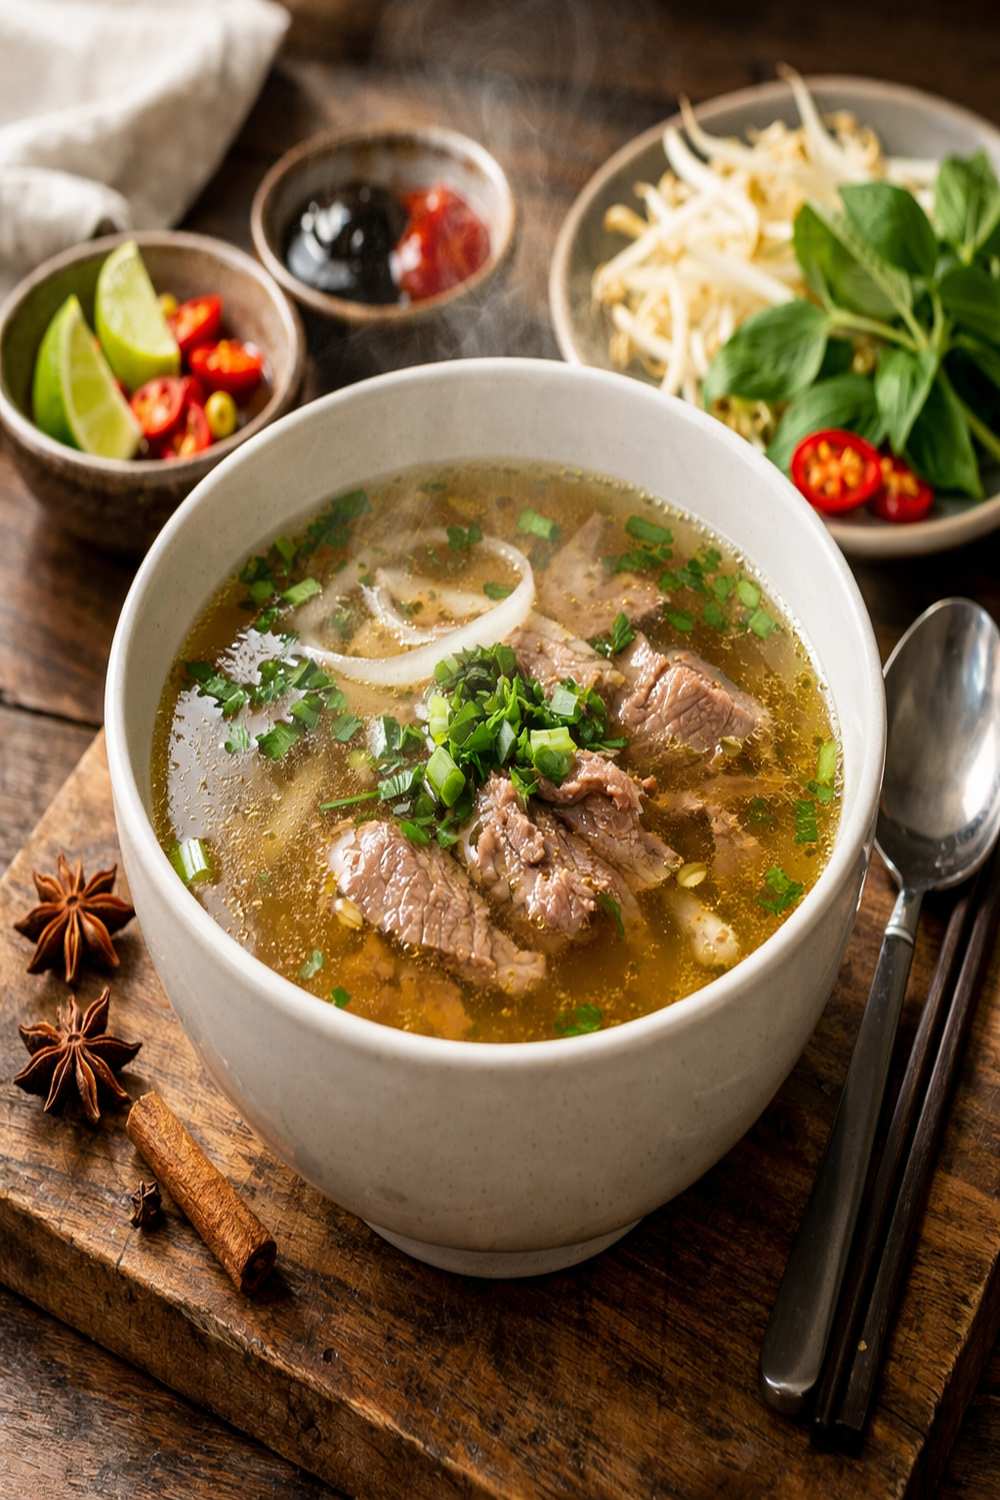
- Heat your broth to a gentle simmer. Place cooked noodles in the bottom of deep bowls, add several slices of cooked brisket and raw beef tenderloin, then pour the hot broth over everything. The residual heat will cook the raw beef gently and perfectly. Top with fresh beansprouts, Thai basil, and coriander. Serve with lime wedges, sliced chilli, hoisin, and sriracha on the side, allowing each person to build their own flavor profile.