
Ingredients
Equipment
Method
Step 1: Prepare Your Chicken and Build the Base Marinade
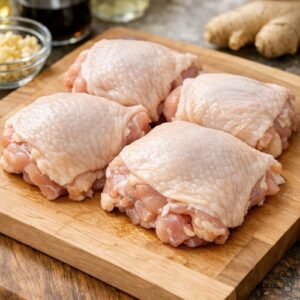
- Pat your four chicken thighs completely dry with paper towels. This matters because water prevents proper browning. Place them on a clean cutting board. In a small bowl, mix together 30 milliliters of mirin and 30 milliliters of dark soy sauce. Add your 2 teaspoons of brown sugar and stir until the sugar dissolves. This marinade is going to coat your chicken, and the sugars will caramelize slightly when the chicken cooks, adding depth to the broth. Pour this marinade over the chicken, making sure every piece gets coated. Let this sit for 10 minutes at room temperature. You're not looking for a long marination—just enough time for the flavors to start adhering to the meat. This is where patience begins.
Step 2: Create Your Aromatic Bundle
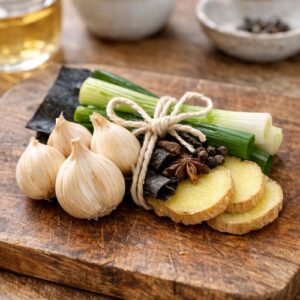
- While the chicken marinates, prepare your aromatics. Take your 5 whole garlic cloves and leave them unpeeled and whole—they'll infuse the broth more gently this way. Slice your 2-inch piece of ginger into thin coins; you don't need to peel it. Leave your 4 fresh red chilis whole or split them in half lengthwise if you want more heat. Trim your 4 to 5 spring onions by removing the root end and cutting the white and light green parts into 3-inch pieces. Keep the dark green tops separate—you might use them for garnish. Gathering everything in one spot before you start cooking is called mise en place, a French term meaning "everything in its place." This prevents frantic searching once your broth is simmering. Trust me, you'll thank yourself.
Step 3: Sear the Chicken to Build Flavor
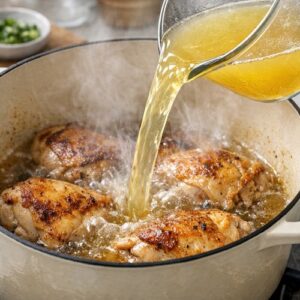
- Place your large pot over medium-high heat. Let it warm for 2 minutes—you want it genuinely hot, not just warm. Add a light coating of neutral oil (about 1 tablespoon of vegetable or canola oil). Once the oil shimmers, carefully place your marinated chicken thighs skin-side down into the pot. Don't move them yet. This is crucial. Let them sit undisturbed for 4 to 5 minutes. What's happening is a chemical process called the Maillard reaction—proteins and sugars are bonding and caramelizing, creating hundreds of new flavor compounds. This is why we sear meat. Your kitchen should smell incredible by now. After 4 to 5 minutes, flip each thigh and sear the other side for another 3 to 4 minutes until golden. The skin should be golden brown, the meat cooked about halfway through. You're not trying to fully cook the chicken yet—you're just building flavor.
Step 4: Build Your Broth Layer
- Pour your 4 cups of good-quality chicken stock directly into the pot over the seared chicken. The liquid will sizzle and steam—that's perfect. Add all your prepared aromatics: the whole garlic cloves, ginger coins, chili peppers, and spring onion pieces. If you're using the optional 6 dried shiitake mushrooms, add them now. They'll rehydrate and release their umami into the broth. Add 15 milliliters of light soy sauce and another 15 milliliters of mirin to the broth. Add your ¼ teaspoon of cayenne pepper if you want gentle heat. Stir gently, bringing everything to a simmer. Do not boil vigorously—a gentle simmer is what we want. Boiling will make the broth cloudy and can toughen the chicken. Reduce your heat to medium-low, aiming for just a few lazy bubbles breaking the surface every few seconds. This is the beginning of the low-and-slow process. Your broth will now simmer, untouched and undisturbed, for 2 to 2.5 hours. During this time, collagen from the chicken skin breaks down into gelatin, creating a silky mouthfeel. The aromatics infuse deeply. The chicken becomes impossibly tender. This is where the magic happens, and it requires nothing from you but time.
Step 5: Add the Fresh Mushrooms at the Halfway Point
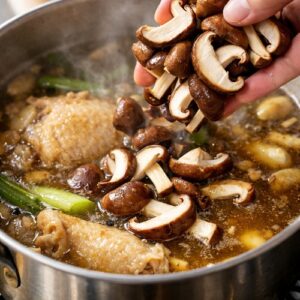
- After about 1.5 hours of simmering, the broth will smell phenomenal and the chicken will be becoming tender. Add your 8 ounces of fresh shiitake mushrooms, which you've already sliced or halved. These fresh mushrooms will cook down during the final 45 minutes to an hour, contributing earthiness and additional umami compounds. Stir gently to distribute them throughout the broth. Taste the broth now. It should be flavorful but perhaps not perfect yet—it's still developing. You can adjust seasoning now if needed, adding a splash more soy sauce or a pinch more salt. Remember, you can always add more, but you can't take it out.
Step 6: Prepare the Soft-Boiled Eggs While the Broth Finishes
- About 45 minutes before you want to eat, bring a separate small pot of water to a rolling boil. Gently lower your 4 large eggs into the boiling water using a spoon. Set a timer for exactly 6.5 minutes. This timing gives you the perfect soft-boiled egg—a tender, jammy yolk with a fully set white. While the eggs cook, prepare an ice bath by filling a bowl with ice and cold water. When the timer goes off, use a slotted spoon to transfer the eggs directly from the hot water into the ice bath. Let them cool for at least 2 minutes. This stops the cooking immediately and makes them easier to peel. Once cooled, gently tap the eggs all over and roll them to crack the shell, then peel under cool running water, starting from the wider end where the air pocket makes peeling easier. If you're making these ahead, you can keep peeled eggs in a container covered with a mixture of 2 parts soy sauce to 1 part mirin, refrigerated, where they'll marinate and develop flavor over 24 hours.
Step 7: Cook the Noodles Just Before Serving
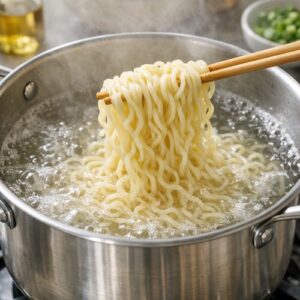
- About 10 minutes before you plan to eat, bring a large separate pot of water to a rolling boil. Do not add salt—the noodles themselves already contain salt. Add your 4 portions of dried ramen noodles and stir occasionally to prevent sticking. Most dried ramen cooks in 3 to 4 minutes—check the package, as different brands vary slightly. You want them tender but with a slight firmness when you bite through, what the Japanese call al dente. When they're done, drain them in a colander, rinse gently with cool water to stop the cooking, and divide them evenly among your four bowls. The rinsing prevents them from sticking together and removes excess starch.
Step 8: Finish Your Broth and Prepare Toppings
- Your broth should now be rich, deeply flavored, and have simmered for 2 to 2.5 hours total. Taste it one more time and adjust seasoning if needed—a touch more soy sauce, a pinch of salt, maybe a whisper more cayenne. Using a slotted spoon, carefully remove the chicken pieces and transfer them to a cutting board. Remove the larger pieces of ginger, the whole garlic cloves, chilis, and spring onion pieces—these have done their job and you can discard them. Shred or slice your chicken into bite-sized pieces. Discard the skin if you prefer, though it's flavorful and contributes collagen. In a small bowl, prepare your fresh toppings: the sliced fresh garlic, sliced spring onions, your sliced radishes or bean sprouts, and a small drizzle of sesame oil. Blanch your yu choy or spinach by placing it in a strainer and pouring boiling water from the broth over it for just 30 seconds—this wilts the greens and keeps them tender. Alternatively, you can skip this and serve them raw if you prefer the crunch.
Step 9: Assemble Your Bowl
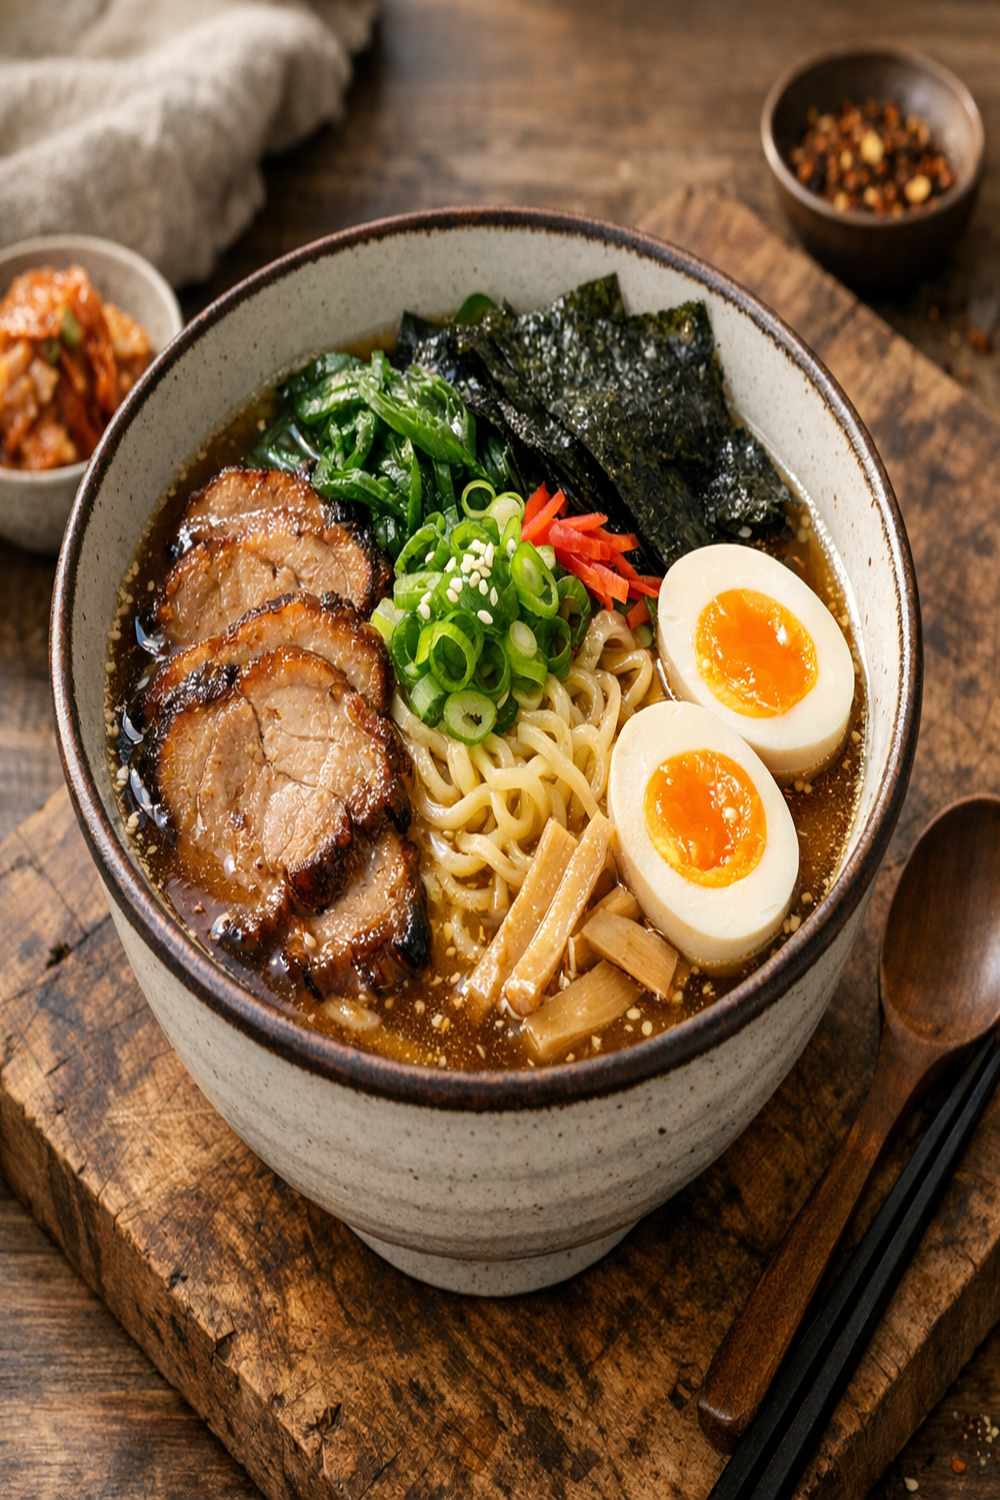
- This is where your ramen becomes real. Into each bowl with the cooked noodles, carefully ladle your hot broth, dividing the mushrooms and any remaining aromatics among the four bowls. Top each with a portion of your shredded chicken, one soft-boiled egg sliced in half to show that gorgeous jammy yolk, your wilted greens, and your fresh toppings: the sliced garlic, sliced spring onions, radishes or sprouts. Finish with a tiny drizzle of sesame oil and a small drizzle of chili garlic oil if you like heat. Taste, and adjust with a splash more soy sauce if needed. The first sip of broth should be savory, slightly sweet, with a warm undertone of ginger and a delicate heat from the chilis. If you've made it this far, you've made authentic ramen.
Notes
- 4 fresh red chili peppers, left whole or split in half (Thai birds eye or jalapeños work; adjust quantity based on heat preference)
- 2-inch piece of fresh ginger root, sliced into thin coins (buy a knob from the produce section, not pre-sliced; fresh ginger smells peppery and bright)
- 4 cups good-quality chicken stock, preferably low-sodium or no-sodium (homemade is best, but quality store-bought brands like Kettle & Fire or Swanson all-natural work beautifully; avoid the high-sodium cubes)
- 4 to 5 spring onions or scallions, trimmed and cut into 3-inch pieces (the white and light green parts carry more flavor than the dark green tops)
- 4 boneless chicken thighs with skin on or off (look for thighs that are vibrant pink, not gray; thighs have more fat and flavor than breasts, which is why they're essential here)
- 5 whole cloves of garlic, peeled (any fresh garlic works; look for bulbs that feel firm and heavy, avoiding any with soft spots or sprouting)