Ingredients
Method
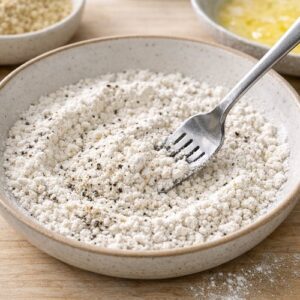
Step 1: Create Your Seasoning Foundation
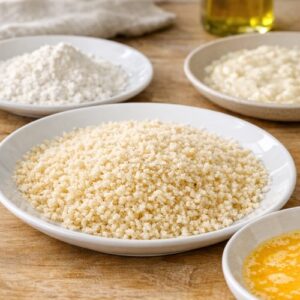
- Find three shallow bowls or plates. In the first, combine your flour with the salt, black pepper, and garlic powder. Mix these thoroughly with a fork or whisk—you want the seasonings distributed evenly throughout the flour, not clumped. This becomes your first coating layer, the foundation that helps everything else adhere properly. Some people skip this step or do it carelessly, but I learned from my grandmother that this matters. Set this bowl aside where you can reach it easily.
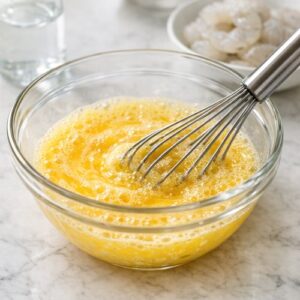
Step 2: Prepare Your Egg Wash
- In your second shallow bowl, whisk together the room-temperature eggs with the filtered water. Whisk vigorously for about thirty seconds until the mixture is uniform and slightly frothy—this creates a better adhesive and helps develop that tender, slightly creamy interior that contrasts beautifully with the crispy crust. The water is essential; it creates a thinner wash that coats evenly without becoming too thick. Room-temperature eggs incorporate more smoothly than cold ones. Set this aside.
Step 3: Prepare Your Breadcrumb Stations
- Pour your panko breadcrumbs onto a third shallow plate or wide, flat bowl. This is your primary breading station. Then, take a fourth plate or shallow dish and lightly sprinkle it with a thin layer of panko—this becomes your resting station after coating. The extra panko on the plate prevents the coated shrimp from sticking and helps the coating cure properly during refrigeration. You'll likely need to replenish the breadcrumbs as you work, depending on shrimp size, so have your box nearby.
Step 4: Butterfly and Inspect Your Shrimp
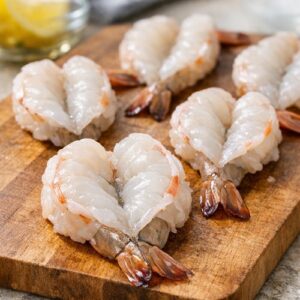
- Pat your shrimp dry with paper towels—moisture is the enemy of good adhesion. Once dry, lay each shrimp on a cutting board with the curved side up. Using a small sharp knife, make a shallow cut along the back of each shrimp, starting near the tail and moving toward the head. You're creating an opening, not cutting all the way through. The goal is to open it like a book while keeping it connected at the belly side. If you accidentally cut completely through one, you can still bread it, but the intact ones look more impressive and cook more evenly. This step determines your final presentation, so take your time.
Step 5: Begin the Breading Process—Flour First
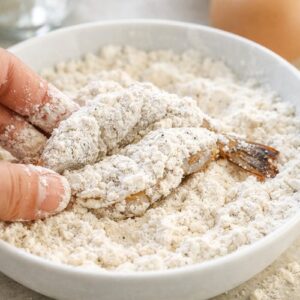
- Take your first butterflied shrimp and place it in the seasoned flour mixture. Coat it thoroughly on both sides, making sure to work the flour into the crevices created by the butterflying. Gently shake off excess flour—you want a thin, even coating, not thick clumps. This layer is crucial; it helps the egg wash adhere properly and creates the foundation for your final crust. Place the floured shrimp on a clean plate while you work through the rest.
Step 6: Apply the Egg Wash
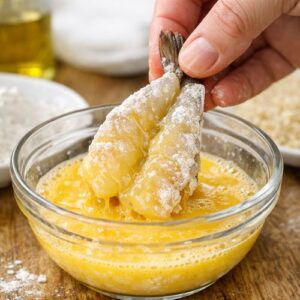
- Working with one floured shrimp at a time, dip it into your egg wash. Let it soak for just two to three seconds, ensuring both sides are coated, then allow excess egg to drip back into the bowl. This is the adhesive layer; you want enough to bind everything together, but not so much that it drips excessively. Too much egg wash creates a thick, gluey interior that becomes tough. This is where patience matters.
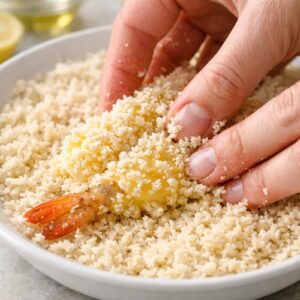
Step 7: The Critical Breading
- Immediately transfer your egg-coated shrimp to the panko breadcrumbs. Press gently but firmly, making sure the panko adheres to every surface—both the opened surfaces and the exterior. Use your fingertips to guide panko into the butterflied opening. Turn the shrimp over and repeat, pressing from the other side. The goal is complete coverage with no visible coating gaps. Once breaded, transfer to your panko-lined resting plate.
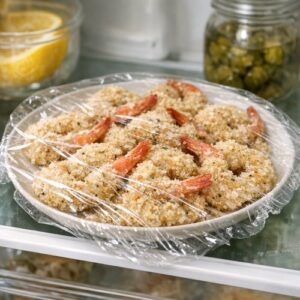
Step 8: Refrigeration—The Non-Negotiable Step
- Once all shrimp are breaded and arranged on your resting plate, cover loosely with plastic wrap and refrigerate for at least thirty minutes, preferably up to five hours. This step is not optional. The cold firms up both the coating and the shrimp itself, which means more even cooking and better adhesion. During this time, the egg wash fully sets, and the panko essentially gets a chance to "cure" slightly. I typically prepare my shrimp in the morning and fry them for dinner—perfect timing for a busy day.
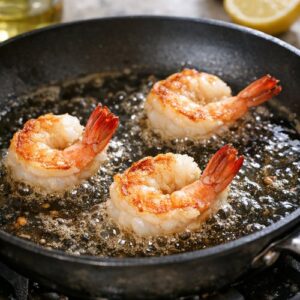
Step 10: Fry With Intention
- Remove your chilled shrimp from the refrigerator and begin frying in batches—never overcrowd the pan. Gently slide three to four shrimp into the hot oil, keeping them arranged so they don't touch. This maintains temperature consistency and ensures even cooking. They'll fry for approximately two to three minutes total, depending on their size. You're looking for a golden-brown exterior that glistens slightly. Large shrimp like these don't need long—overcooking creates rubbery, tough seafood. As soon as the coating turns golden and the shrimp inside feels firm when gently pressed, remove them with a slotted spoon and transfer to a paper-towel-lined plate.
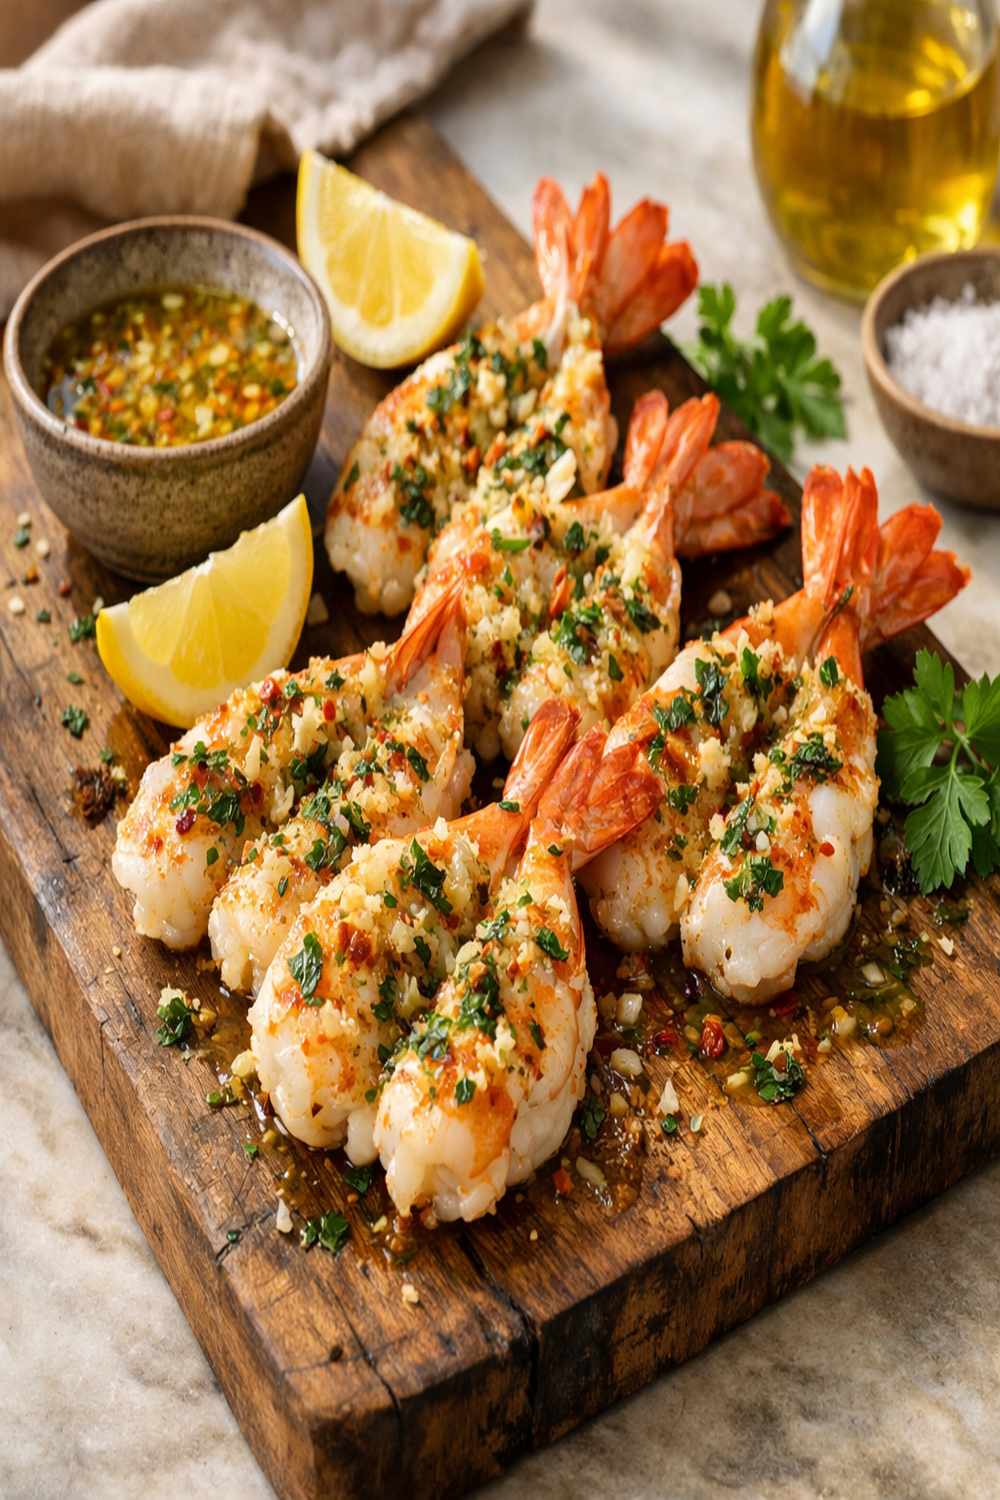
Step 11: Rest and Serve Immediately
- Allow your fried shrimp to rest on paper towels for about two minutes—this drains excess oil and allows the residual heat to finish cooking the interior gently. Serve immediately while the contrast between the crispy coating and tender, juicy shrimp is still pronounced. This is the moment they deserve: warm, beautiful, and shared with people you care about. Arrange on a platter with fresh lemon wedges and perhaps a small bowl of cocktail sauce for dipping.