Ingredients
Method
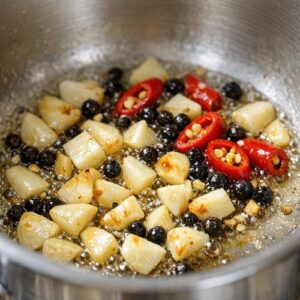
Step 1: Toast the Aromatics Until Golden and Fragrant
- Heat your coconut oil in a large pot over medium-high heat until you see it shimmer slightly. Add your roughly chopped garlic, whole peppercorns, freshly ground black pepper, and red-pepper flakes all at once. Lower the heat to medium-low—this is crucial. You want the garlic to toast slowly, releasing its essential oils and developing a golden color, not burning. Stir occasionally as you watch the garlic transform from raw and pungent to soft, caramelized, and almost candy-like in its sweetness. This takes about 5 minutes. Your kitchen should smell incredible by now—warm, garlicky, with a subtle spiciness underneath. This aroma is the foundation of everything that follows.
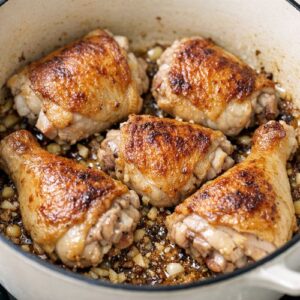
Step 2: Sear the Chicken Until the Skin Crisps
- Place your chicken pieces skin-side down into the pot with the garlic mixture, then increase the heat back to medium-high. Don't move them. This is where patience becomes your secret weapon. Let the skin render—that means the fat under the skin will slowly melt into the pot, crisping the skin and enriching the base you're building. After about 5 minutes, you'll hear the sizzle die down slightly and notice the skin pulling away from the sides of the pieces. This tells you the rendering is complete and the skin has crisped. The skin is packed with collagen and fat-soluble flavor compounds; don't skip this step.
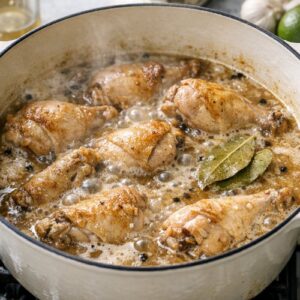
Step 3: Braise Low and Slow Until the Meat Falls Off the Bone
- Add the coconut milk, coconut vinegar, soy sauce, bay leaves, and 1 cup of water to the pot, then bring everything to a gentle boil. Once you see bubbles breaking the surface, reduce your heat to medium-low and let it simmer, uncovered. This is the long, slow part—about 1 hour of gentle simmering. Halfway through (around the 30-minute mark), stir the pot once to ensure even cooking. The chicken will start to pull away from the bone, the sauce will deepen in color, and the kitchen will smell like comfort itself. You're not just cooking chicken; you're transforming tough muscle fibers into something tender through low-temperature moist heat.
Step 4: Reduce the Sauce Until It Coats a Spoon
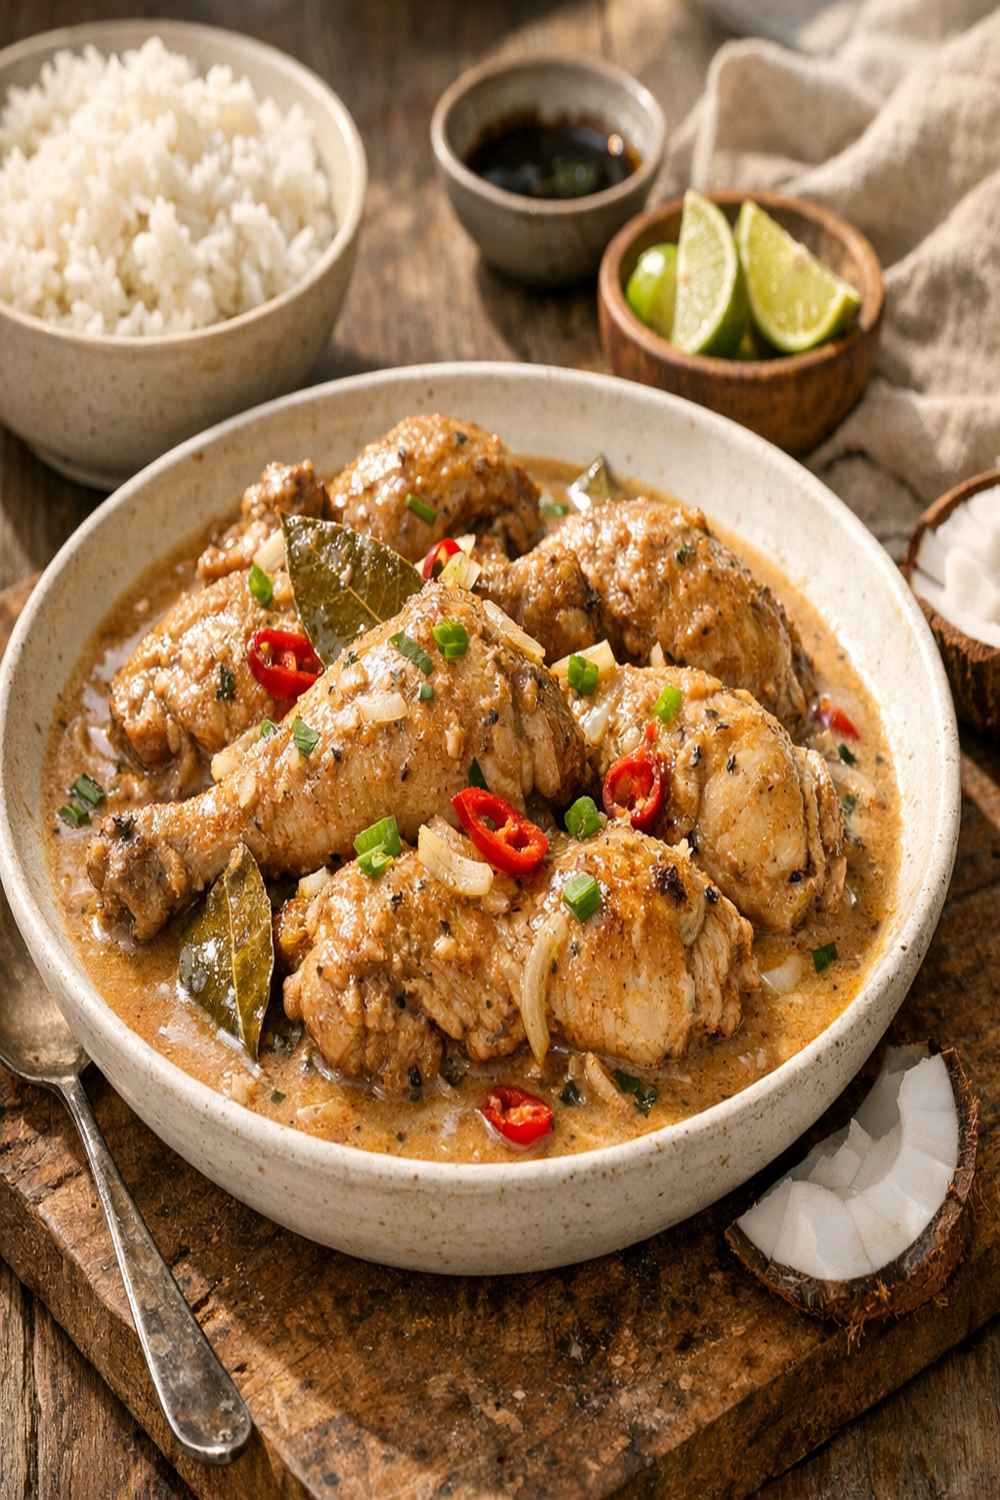
- After the chicken has simmered for about 1 hour, increase the heat to medium-high and cook uncovered for another 15 minutes, stirring occasionally. Watch the liquid level drop. What you're doing now is concentrating the flavors and allowing the collagen from the bones to transform the braising liquid into a velvety, glossy sauce that clings to the chicken. You'll know it's ready when the sauce coats the back of a spoon and runs slowly when you tilt the spoon sideways. Taste it now—does it need more salt? More acidity? Adjust to your preference. Serve the chicken and sauce over steamed rice, allowing the grain to absorb every precious drop.

Notes
- Prepare the aromatics the night before – Chop your garlic and measure your peppercorns, red-pepper flakes, and bay leaves into a small bowl. Cover and refrigerate. This cuts your active cooking time from 5 minutes to literally 2 minutes of execution
- Cook the entire dish up to 3 days in advance – Store the chicken and sauce together in an airtight container in the refrigerator. The flavors actually deepen as they sit. Reheat gently over medium-low heat, stirring occasionally, until warmed through (about 10 minutes), then serve over fresh rice
- Freeze for up to 3 months – Portion the cooled adobo into individual containers or freezer bags, leaving ½ inch of headspace for expansion. Thaw overnight in the refrigerator, then reheat as described above. The frozen version tastes every bit as good as the fresh
- Cook double and use the sauce for other dishes – Make two batches, then use the extra sauce as a braising liquid for Asian beef shank recipe or as a glaze for BBQ Chinese pork. The same technique works across cuisines