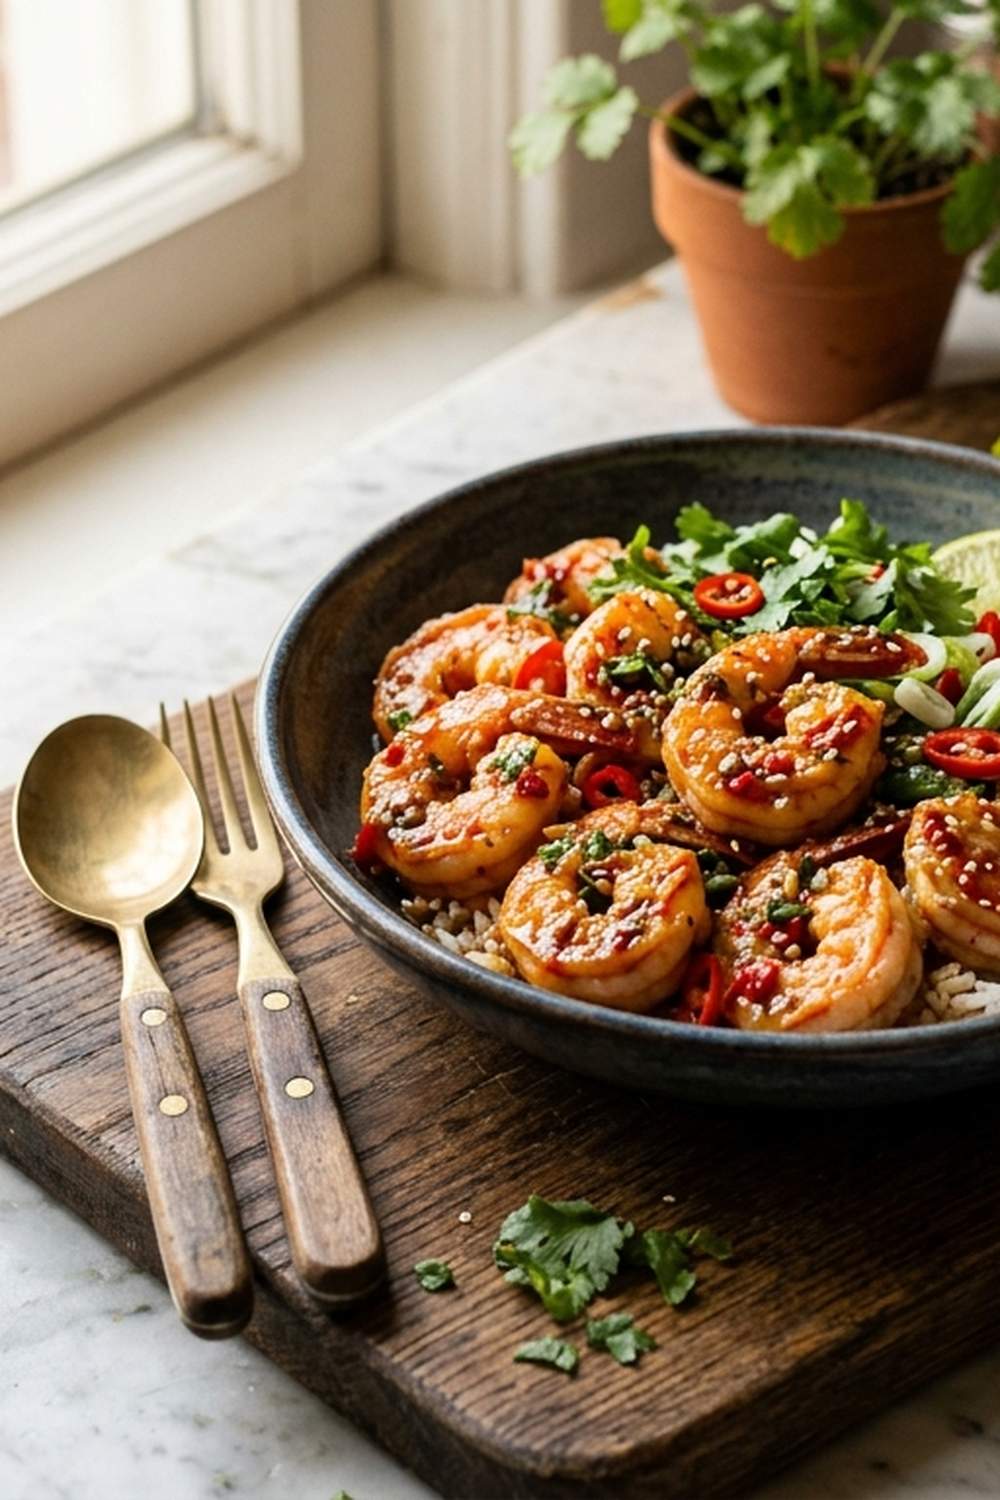
Ingredients
Method
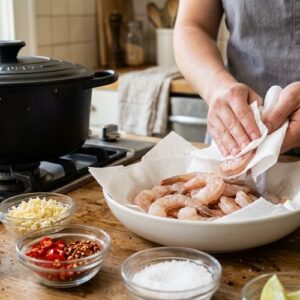
Step 1: Prepare Your Mise en Place (Everything in Its Place)
- Before any heat touches the pan, gather everything. Pat shrimp completely dry with paper towels—this is non-negotiable. Wet shrimp won't sear; it will steam. Mince your garlic finely and chop your chili peppers, removing most of the seeds unless your family enjoys serious heat. Measure salt and pepper into a small dish. Chop parsley and squeeze lemon juice. This preparation step takes five minutes and prevents scrambling once heat starts. If cooking with children, this is where they become your mise en place partners. Let them arrange ingredients on the counter in the order you'll use them.
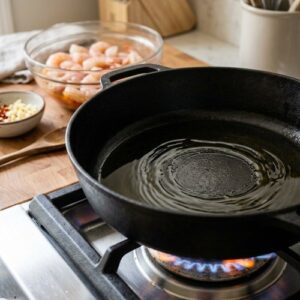
Step 2: Heat Your Fat Mindfully
- Place your skillet over medium-high heat. Add 2 tablespoons of olive oil first. Let it warm for about 60 seconds—you want it shimmering, not smoking. Add your butter. Watch it foam gently; this is your signal that the pan has reached the right temperature. The combination of olive oil and butter creates a fat with a higher smoke point than butter alone, while maintaining butter's rich flavor profile. Keep children at a safe distance during this heating phase. This is grown-up heat management, but narrate what you're doing so they learn through observation.
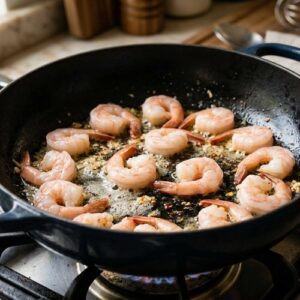
Step 3: Sear the Shrimp with Patience
- When your fat is foaming gently, add shrimp in a single layer. Do not crowd the pan. If your skillet is small, work in two batches. Let shrimp sit untouched for 2 to 3 minutes. This is where the magic happens—the proteins caramelize against the hot surface, creating a golden crust. Resist the urge to move them around. Sprinkle the first side with your salt and pepper blend. After 2 to 3 minutes, when the underside has turned a beautiful coral-pink and the edges are slightly translucent, flip each shrimp carefully. Sear the second side for another 2 minutes. The entire shrimp should now be opaque pink, indicating it's cooked through without being overdone. Kids aged 10 and up can manage this step with you beside them, gently guiding their hand on the spatula for flipping. Emphasize that patience—not speed—creates great food. This is a lesson that transfers to life.
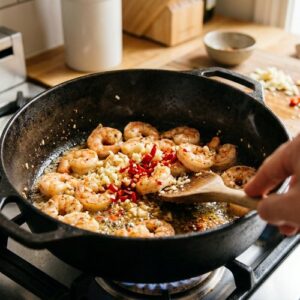
Step 4: Build Flavor with Aromatics
- Once your shrimp is seared on both sides, reduce heat to medium. Immediately add your minced garlic and chopped chili peppers. Stir constantly for just 30 seconds. You're not cooking these heavily; you're infusing the fat with their essence. The garlic should become fragrant but not brown—browning makes it bitter. The chili peppers release their capsaicin, that compound that creates gentle warmth on the palate. This brief moment, this 30 seconds of stirring, transforms simple seared shrimp into something aromatic and alive.
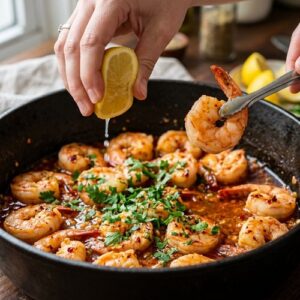
Step 5: Finish with Brightness and Freshness
- Remove the skillet from heat. Add your fresh parsley and squeeze of lemon juice directly into the pan. Taste a piece of shrimp. Does it need more salt? A touch more lemon? Season to your family's preference. Some families enjoy a pinch more red pepper flakes; others prefer it mild. This customization moment teaches kids that cooking is personal, that food should taste exactly the way your family loves it. Drizzle with that remaining tablespoon of olive oil for a silky finish.